Fresh start on a new project - it's always exciting! I'm going to use this blog post to detail how I set up the project & getting the character to move in the way that I want.
I created the project using the Unreal template for a top down game with C++. This gave me a bit of a head-start on the project, however the movement isn't how I planned it - the demo works by clicking where you want the player to move! I'll show how I switched it to keyboard & GamePad movement.
First, I'll need to add the input bindings for the movement. Go to Settings -> Project Settings, then scroll down the left tab to Input under the Engine heading. You should see something like this:
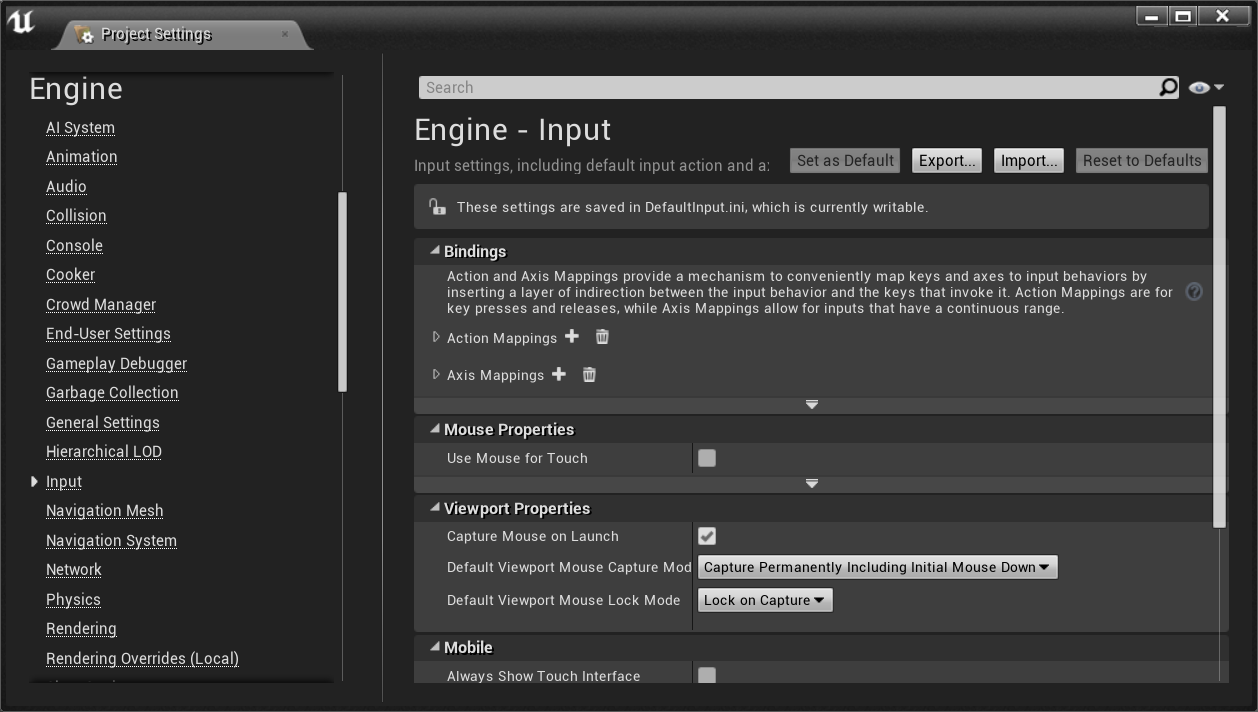
In here you can add the bindings for any input in the game. Action Mappings are used for input without a scaling value, such as a button press on a keypad, whereas Axis Mapping will provide you with a scaling value between 0 and 1 that can be used to scale the movement speed for example. I've added a new Action Mapping first for a Jump method which is triggered by the space bar or with the bottom face button on a GamePad - on an Xbox controller this translates to the A button.
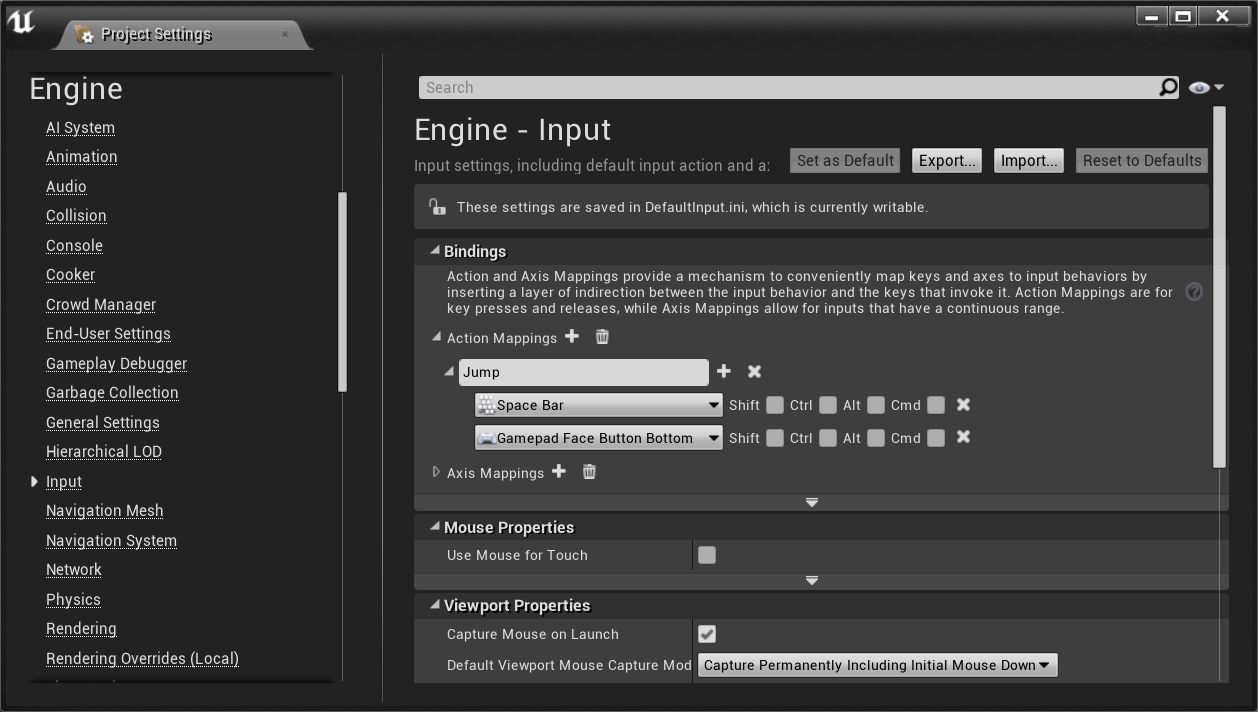
Next I added some Axis Mappings - these are used for character movement as I want my character to move slower if the analog stick is only slightly pressed. There were already some keyboard bindings in here, so I added a couple of bindings for the thumbsticks like so:

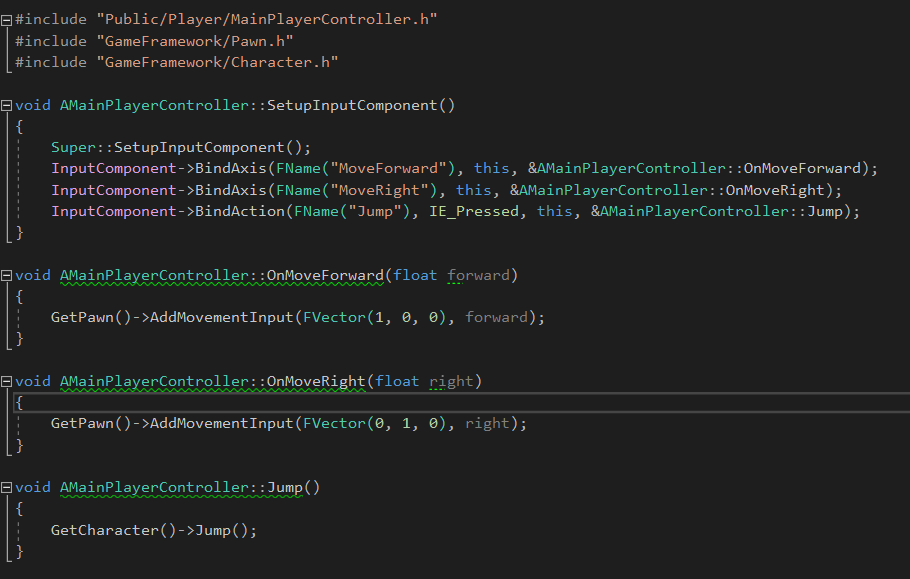
Now onto the fun bit - the code! The standard PlayerController that comes with the test project has a lot of redundant code that I didn't really need for my game, so I created a new one. It's quite a simple class, all it does is bind the input for the mappings defined above. Luckily the Pawn and Character classes have the functionality that I need, so when MoveForward/MoveRight are called I call GetPawn()->AddMovementInput and pass in the direction and the scale value. For the Jump method, I just need to call Jump on the character being controlled - the final class looks like this:
Now there's some basic movement working! However there were still some tweaks that I needed to do as the movement didn't feel right. First, the character looked like he was sliding around - to fix this, in the custom character class I set the ground friction to 300. This seemed to do the trick, however it may need tweaking in the future.
Next, I wanted a bit of movement in the air so that if the player tries to change direction while jumping it'll move slightly - this was another easy fix, on the character I set AirControl to 1.
Finally, the camera angle wasn't what I was after, I wanted it to be rotated down a little bit more. This was a bit trickier than it should have been, as something was changing my rotation of the spring arm component back to its default. This was due to the Blueprint of the character trying to set it back to the default - after setting the change in the blueprint the issue seemed to be resolved!
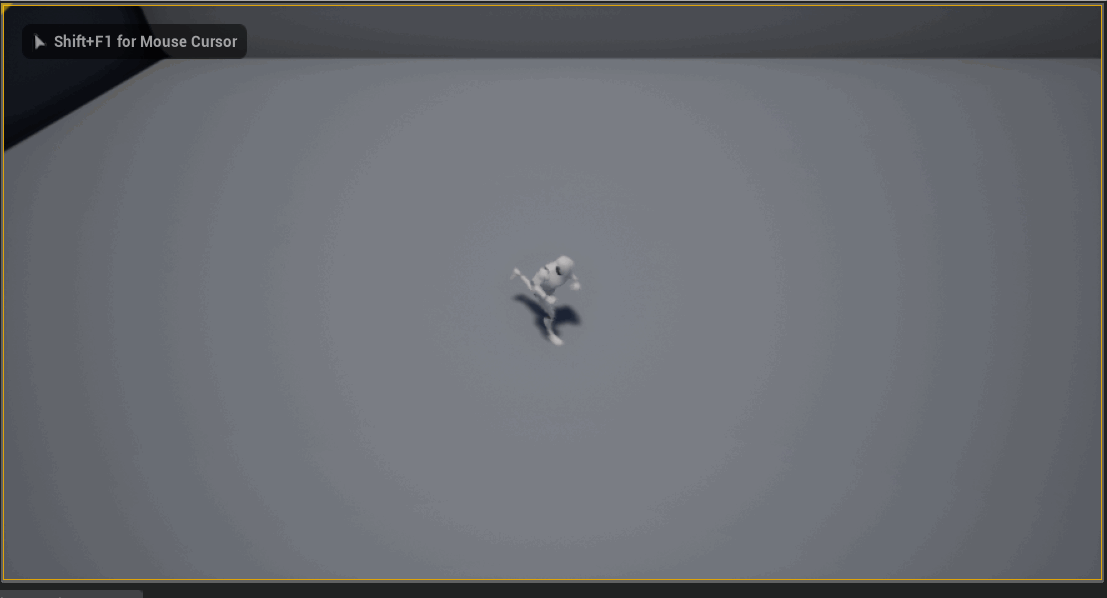
The end result looks like this:
Next, I wanted a bit of movement in the air so that if the player tries to change direction while jumping it'll move slightly - this was another easy fix, on the character I set AirControl to 1.
Finally, the camera angle wasn't what I was after, I wanted it to be rotated down a little bit more. This was a bit trickier than it should have been, as something was changing my rotation of the spring arm component back to its default. This was due to the Blueprint of the character trying to set it back to the default - after setting the change in the blueprint the issue seemed to be resolved!
The end result looks like this:
In the next post, I'll explain how I switched the default player model into a custom one.
 RSS Feed